
Here is the detail instruction on how to program EEPROM with digiprog 3 odometer correction tool through “EEPROM” menu.
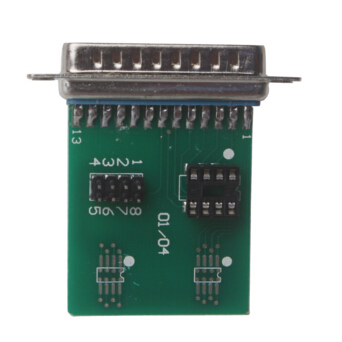
EEPROM programming with Digiprog 3 is done through some adapters, for example, 01/04 Adapter,Digiprog 3 ST02 cable or others. These adapters can be purchased at local aftermarket shops or from online stores.
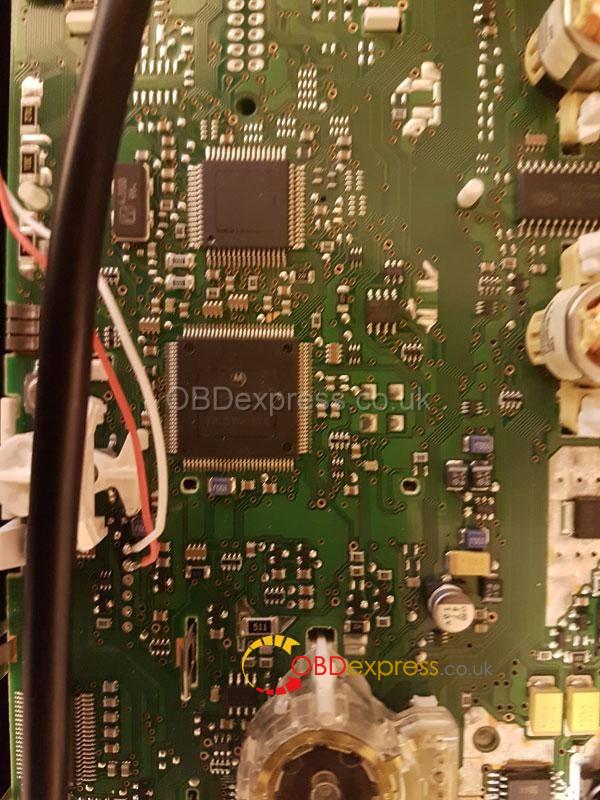
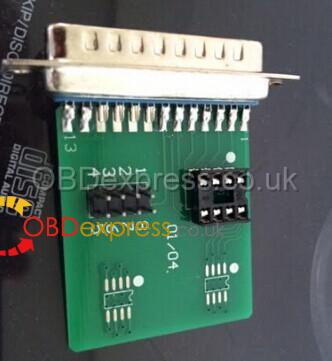
EEPROM chip 01/04 Adapter picture taken:
Tips before you start:
1. De-solder eeprom
2. Make sure the contact points or legs with glass fiber pin thoroughly.
3. Clean clearly with sandpaper, etc
4. Insert eeprom correctly into Digiprog3 ST01/ST04 adapter, and make sure they are contacting.
How to program EEPROM using digiprog 3 mileage correction tool?
1. Connect DP3 device to your car via OBD connector
2. Enter “EEPROM” menu

3. Read data from EEPROM and store them in digiprog3
Follow this way:
Select the “SET TYPE” and choose “93C46″, then your digiprog has been set up to read a 93C46 chip. Press “EEPROM” again and then “READ”. There will show you the information on the digiprog III screen when the reading is complete. Now press “VERIFY” so the information on your screen can agree with the Eeprom.
Next click the “FILE” and there will show you another sub-menu, you can click “SAVE” and enter a file name for the information you are saving. Once you entered the file name, your data is safe and the vehicle is now ready to be reprogrammed.
4. Get EEPROM from ST01/ST04 adapter and reload it;
5. Select the function EEPROM COMPARE;
6. Then it is the previous read data on digiprog 3 but not the internal memory, comparing it with the now re-inserted EEPROM;
NOTE:
Error message may appear during the process, restore or reprogram, restore the original data status and it will be fixed.
External eeprom programmer
Read and store data status
Take EEPROM from the adapter and insert it again
Re-read data level and save it
Comparison on data sets in the editor (windows—total commander)
If the comparison is identical, it is correct.
If the data is restored already, the reprogramming error shows the original data
Data state produced!
Case: Digiprog3 read&write Audi A4 eeprom HC12 mileage
Purpose:
copy the immo information from a cluster to another
make the mileage follow with the immo information
Model:
Audi a4 2001
Optional devices:
Digiprog3, or ecu programmers like Xprog, Carprog, UPA-USB programmer
Original cluster:
The Jaeger cluster barely works
Suggestion:
read the pin code from both the Instrument and adapt it to the vehicle
What to do on pin 21 and 22 on the chip:
– With ECU programmers:
Eprom.set type,mcu,hc12,read,save.
eprom,set type,mcu,hc12,file,load,write.
Buy yourself Xprog-M, Carprog, UPA-USB.
Pin 21 and 22 jumper after programming or wait 10 minutes.
– with Digiprog3:
Eprom,set type,mcu,hc12,read,save.
eprom,set type,mcu,hc12,file,load,write.
Problem & Solution: Digiprog3 Can’t Read EEPROM
Problem:
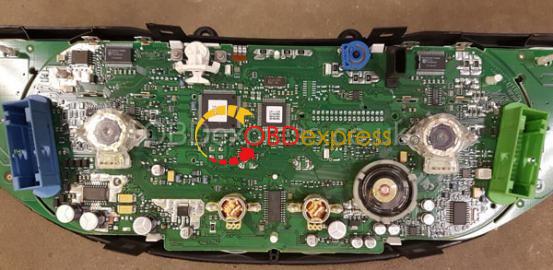
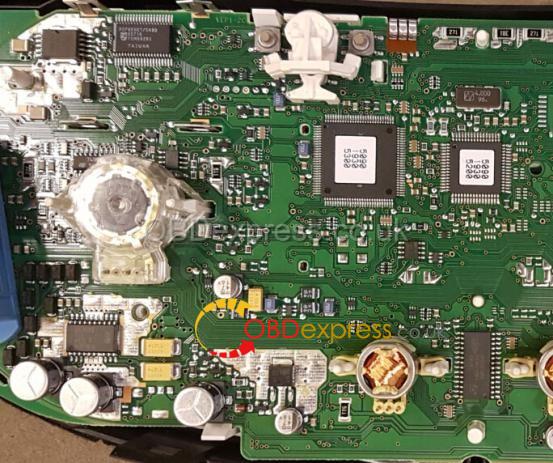
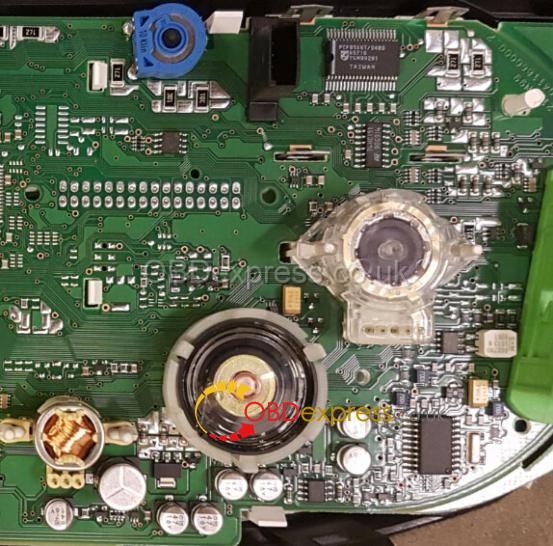
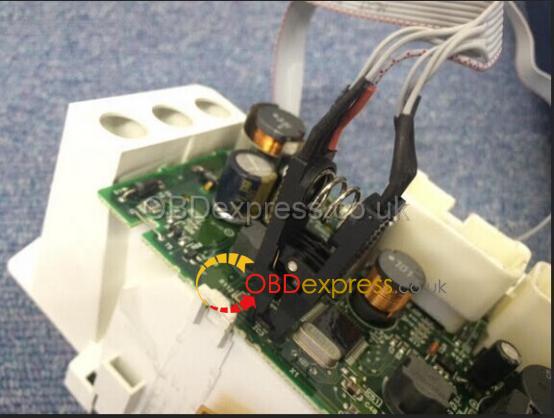
Used OBD ST01 & ST04 cables (contained in Digiprog 3 entire kit)to read EEPROM. The pic below shows what I did.
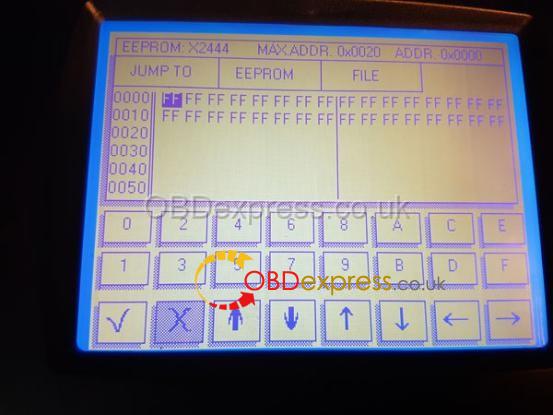
But the result can be seen like the following pic. The EEPROM cannot be read.
Solution:
- Take down the clip and clear the chip. Then try it again.
- If you do not want the clip,contact the purchasing specialist to ask for the 01/04 Adapter for Digiprog 3.
Disconnect digiprog 3 from your car when finished.
http://www.obdexpress.co.uk/wholesale/digiprog-iii-3-digiprog3-d-odometer-master-programmer.html
